Why Application Education Drives More Lash Sales
For wholesale lash businesses, providing application guidance to retail and salon customers is a powerful sales strategy. When end consumers know how to apply false eyelashes correctly, they experience better results, buy more frequently, and become brand advocates. Wholesale suppliers who invest in application education content reduce product returns and build stronger relationships with their B2B clients.
This professional application guide can be shared with your retail and salon customers as branded content — an added value tool that supports their customer relationships and drives lash product repurchase.
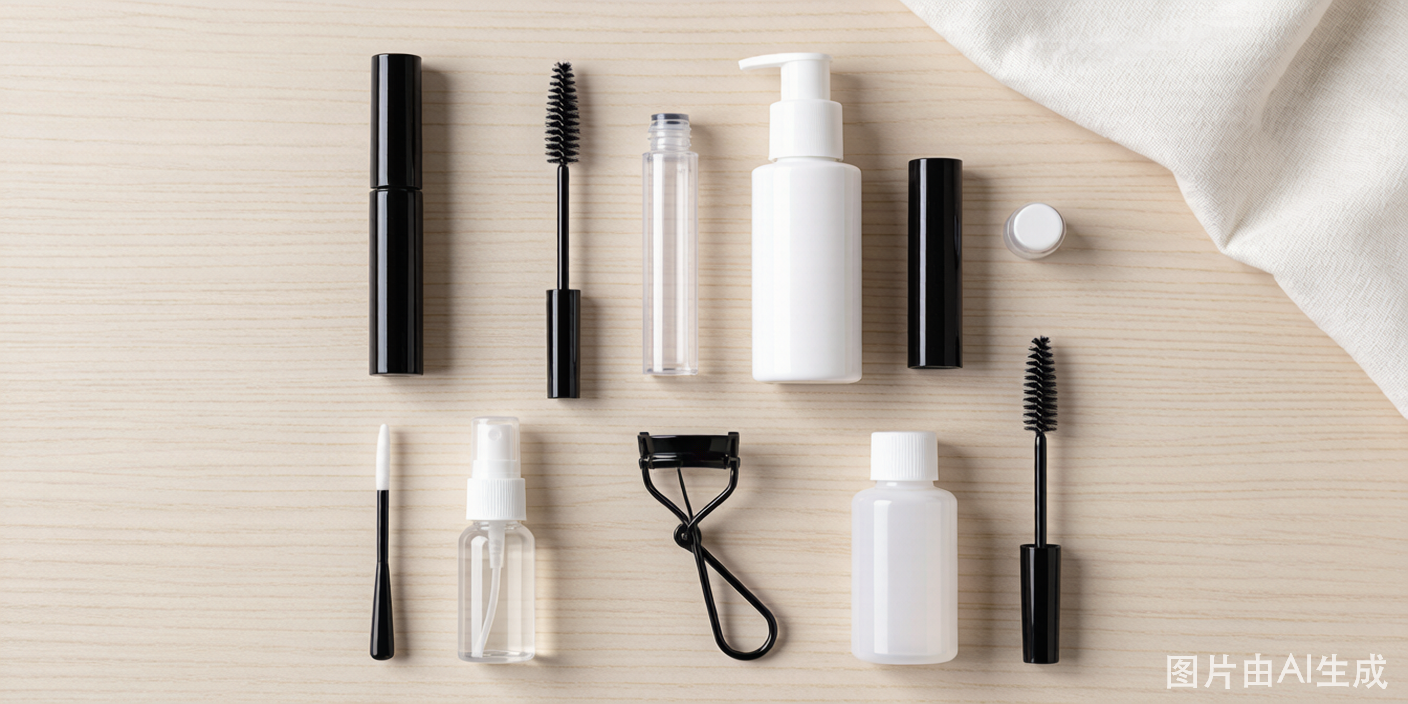
Tools Needed for Professional False Eyelash Application
Before beginning application, ensure these tools are available:
- False eyelashes: Selected style appropriate for the occasion and eye shape
- Lash adhesive: Quality strip lash glue (latex or latex-free)
- Lash applicator or tweezers: For precise placement without fingerprints or smudging
- Small scissors: For custom trimming to eye width
- Mirror: Well-lit, ideally magnifying
- Eyeliner (optional): To conceal band and perfect liner look
- Mascara (optional): For blending with natural lashes
Step-by-Step Professional Application Guide
Step 1: Prepare Your Natural Lashes
Begin with clean, dry lashes free from mascara and oils. If wearing mascara, apply a light coat of regular mascara first and allow it to dry completely before lash application. This creates a gripping surface and helps blend natural lashes with the false strip.
Step 2: Measure and Trim the False Lash Strip
Hold the lash strip along your lash line from inner corner to outer corner. Most lash strips are manufactured longer than average eye width and require trimming. Always trim from the outer edge to preserve the designed inner corner detail. Correct sizing is the single most important factor in achieving a comfortable, natural-looking application.
Step 3: Apply Adhesive Correctly
Apply a thin, even layer of adhesive along the entire length of the lash band. Less is more — excessive glue leads to sliding, pooling, and difficult cleanup. Allow the adhesive to become tacky (30–60 seconds) before application. Tacky adhesive bonds instantly upon contact; wet adhesive slides before bonding, causing misalignment.
Step 4: Position and Apply the Lash Strip
Using a lash applicator or tweezers, center the lash strip along the natural lash line — positioned as close to the natural lash root as possible without touching the skin above the lash line. Apply the center of the strip first, then gently press the outer and inner corners into position. Look straight ahead into the mirror during placement rather than angling the head back.
Step 5: Secure and Blend
Gently press along the entire band length with a clean fingertip or the rounded end of a tweezers to ensure complete adhesion. Use a clean spoolie brush to blend natural and false lashes together. Apply eyeliner along the band to conceal it if desired.
Application Tips for Different Eye Shapes
Monolid Eyes
Opt for lashes with individual fiber construction rather than thick bands. Placement closer to the lash root creates the appearance of a defined lid crease. Avoid lashes that are too heavy, which can cause drooping on monolid eye structures.
Almond Eyes
The most versatile eye shape — virtually all lash styles are appropriate. Classic cat eye and wispy styles are particularly flattering.
Hooded Eyes
Choose shorter, lightweight lashes to avoid weighing down the already heavy lid. Half lashes applied to the outer corner are especially effective for creating lift without adding downward pressure.
Round Eyes
Cat eye styles that extend outer corner length minimize roundness and create an elongated appearance. Avoid round or doll-eye styles that enhance the circular shape.
Common Application Mistakes to Avoid
- Not waiting for adhesive to get tacky — causes sliding and repositioning struggles
- Applying too close to the inner corner — creates discomfort and unnatural appearance
- Using too much glue — visible excess glue is difficult to clean and looks unprofessional
- Skipping the measuring step — strips that are too long lift at the outer corner throughout the day
- Pulling lashes off without dissolving adhesive — damages natural lashes and reduces lash longevity
How to Remove False Eyelashes Safely
Safe removal is as important as correct application for preserving lash reusability and protecting natural lashes:
- Apply an oil-based makeup remover or coconut oil along the lash band to dissolve adhesive
- Allow 30–60 seconds for adhesive to soften
- Gently peel from the outer corner inward — never pull from the inner corner
- Remove remaining adhesive from the band using tweezers or fingernails
- Clean lashes with an alcohol-free makeup remover using a cotton swab
- Store in original tray to maintain curl
Conclusion
Teaching customers how to apply false eyelashes correctly is one of the highest-value services a wholesale beauty supplier can provide. When customers experience great results, product confidence increases, return rates decrease, and repeat purchasing follows naturally.
Contact our team for downloadable application guide resources branded with your logo, available free for qualifying wholesale accounts.
发表回复